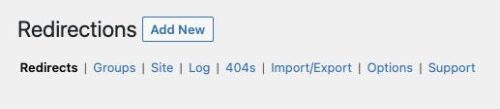
Under Tools > Redirection, choose the 404s tab and apply the “Group by URL” filter.
See outdated links on your site that need redirects
Start by reviewing the list of 404 (page not found) errors that have been logged:
- From the Dashboard menu, select Tools > Redirection
- Select the 404s tab
- Set the “Group by URL” filter and click the Apply button
You should see each broken and/or outdated link that currently exists on your site, with a number next to it that indicates how many times a site visitor tried to use it.
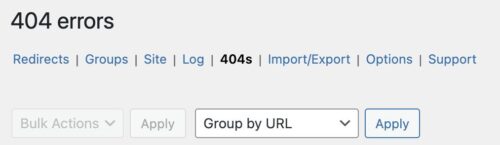
Under Tools > Redirection, choose the 404s tab and apply the “Group by URL” filter.
Add a redirect for a broken link
Hover over the Source URL that you have a redirect for. Several options should appear beneath the URL. Click Add redirect.
- Add the new link path (starting with /) to the Target URL field.
- Check the “Delete logs for these entries” box. This will remove this URL from the 404 errors report and keep you from adding a duplicate entry in the future.

View all redirects
Once your redirect has been created, you can see it by viewing the full list of redirects on your site.
Select the Redirects tab at the top of the Tools > Redirections page.